Champion Living Fitness
What is Champion Living Fitness?
Champion Living Fitness exists to build stronger, longer-lasting rodeo and western athletes through elite training, expert coaching, and relentless community support — online and in person.
Coaching
At Champion Living Fitness, we have a variety of programs to fit your fitness functionalities! You can choose to use our Champion's Fitness App Workouts, Workout & Fitness, Fitness only, or join our monthly membership to download our trainings and do them on your own time!

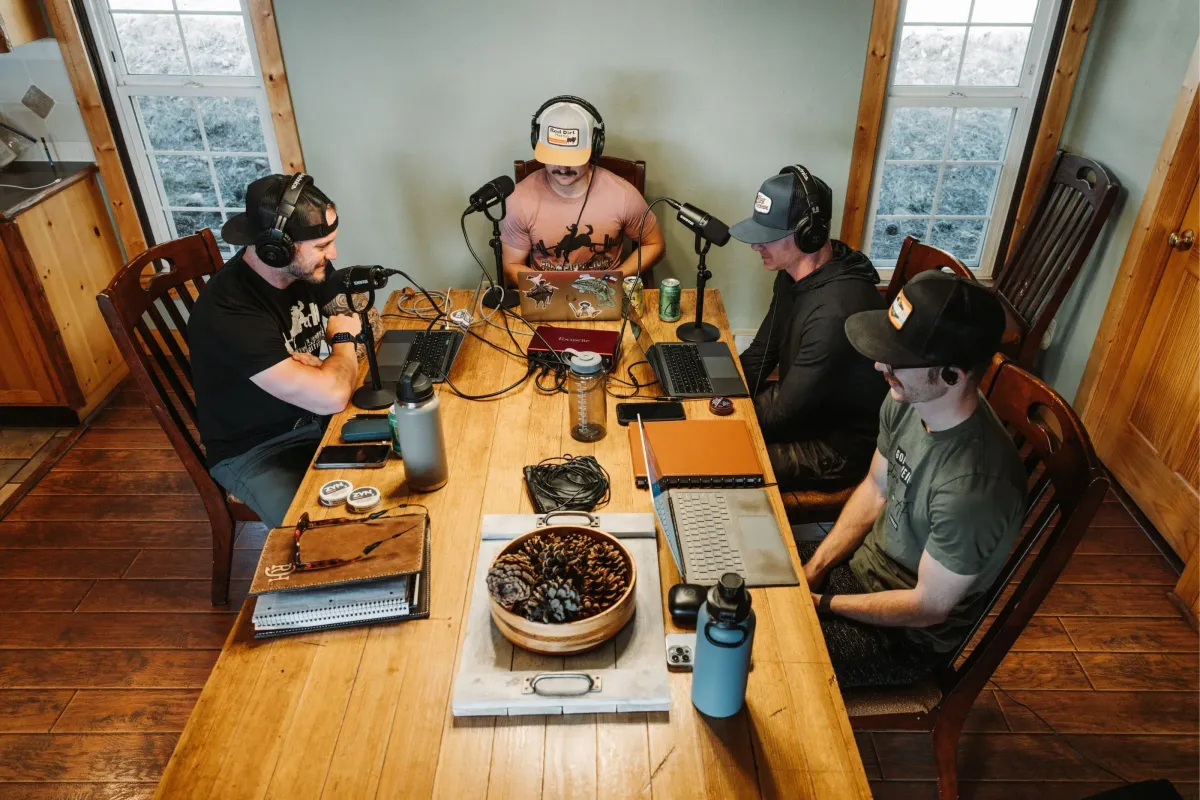
PODCAST
Champion Living with Doug Champion
In this trailblazing, first of its kind podcast, you'll have access to everything fitness, nutrition, and mindset as it pertains to the modern day Professional Rodeo Cowboy/Athlete.
Merchandise

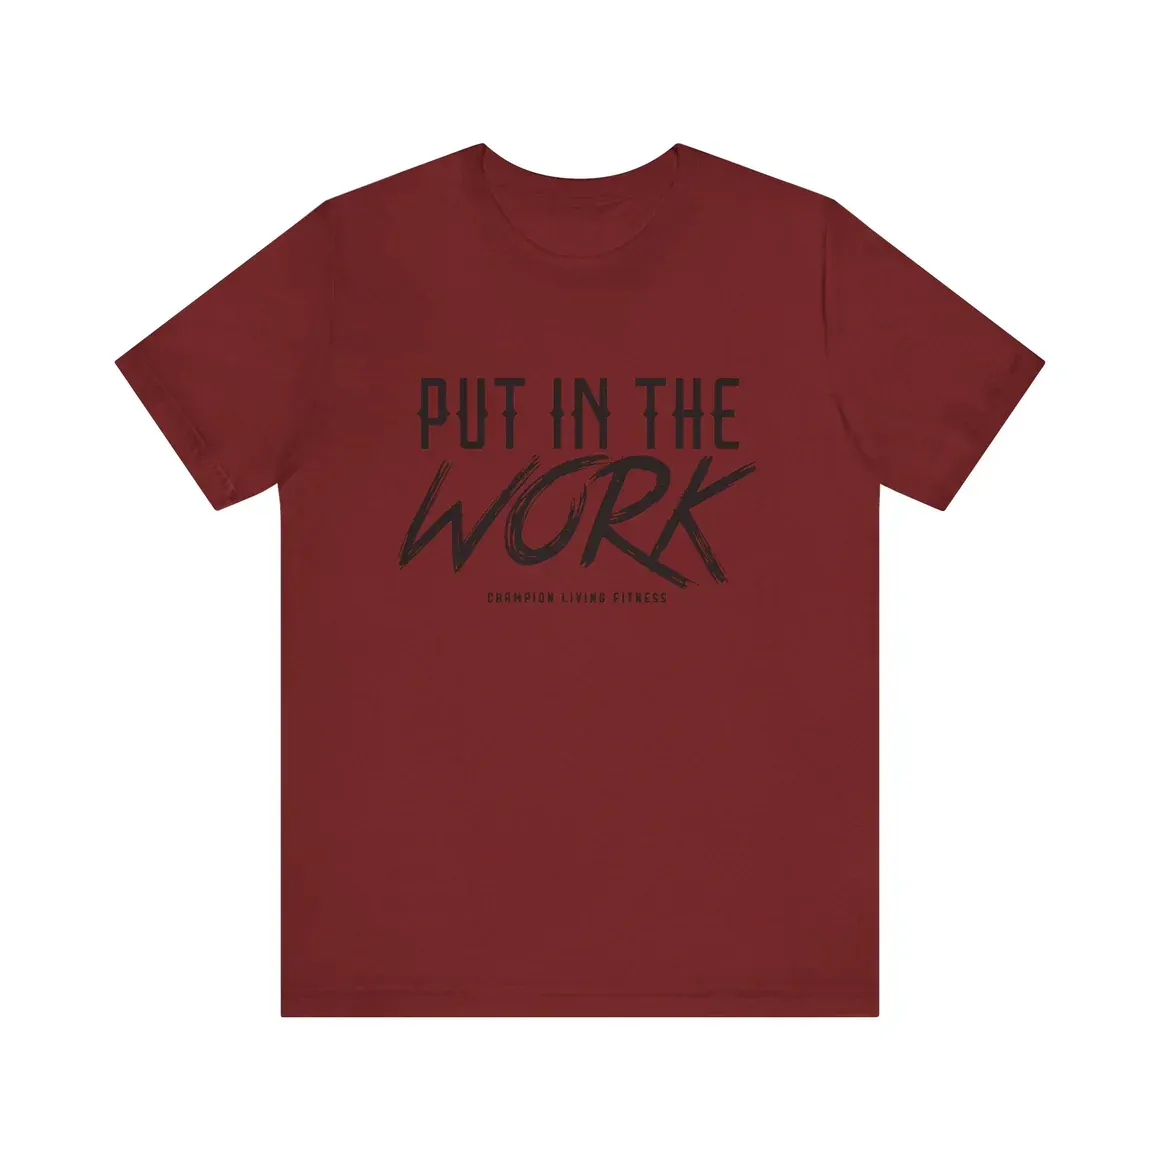
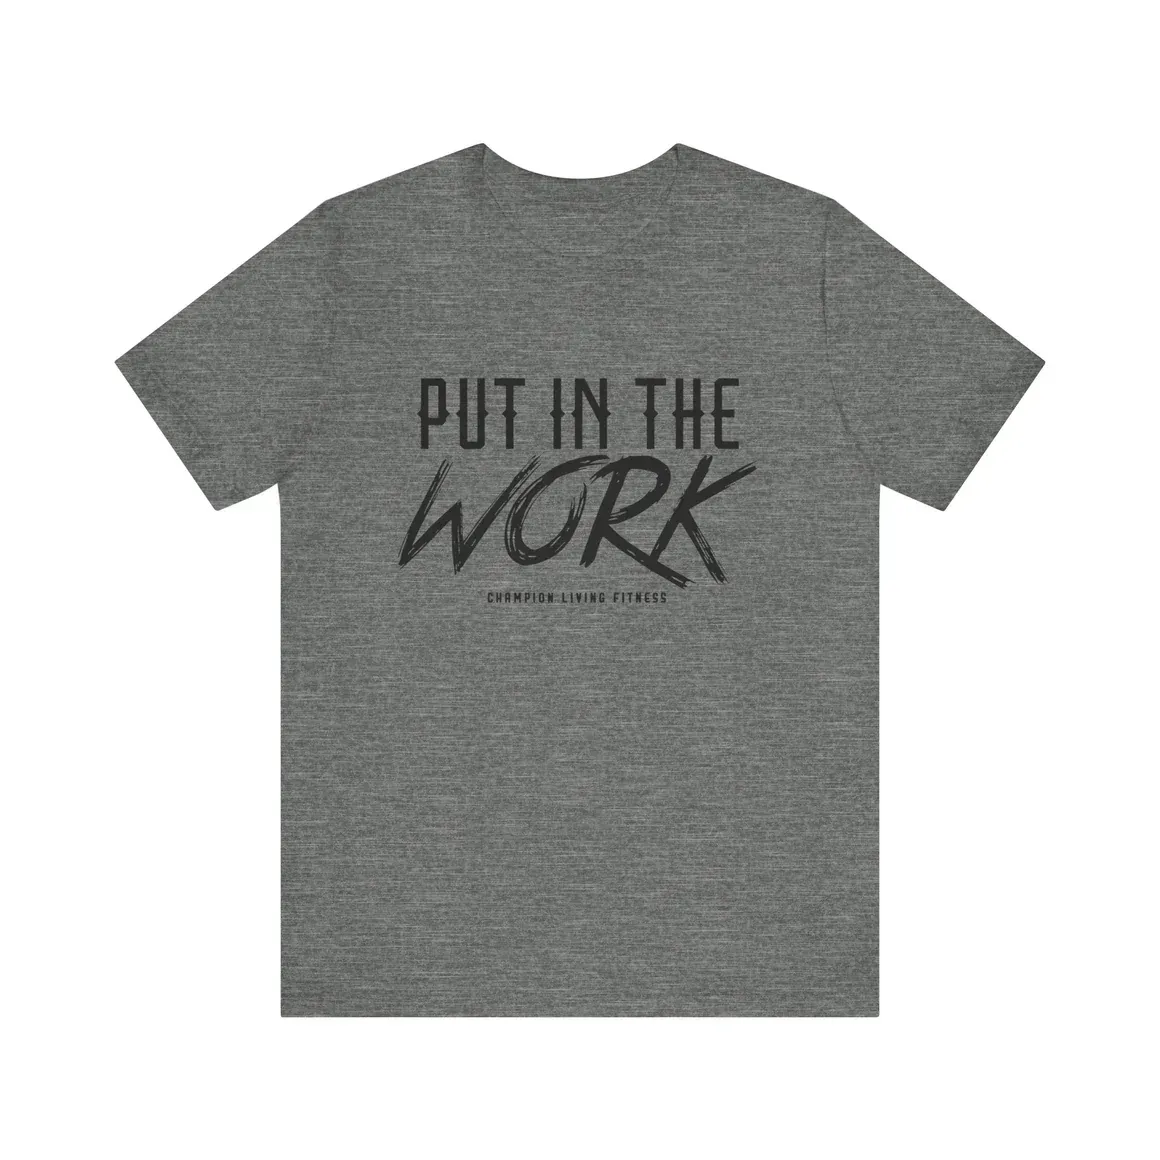
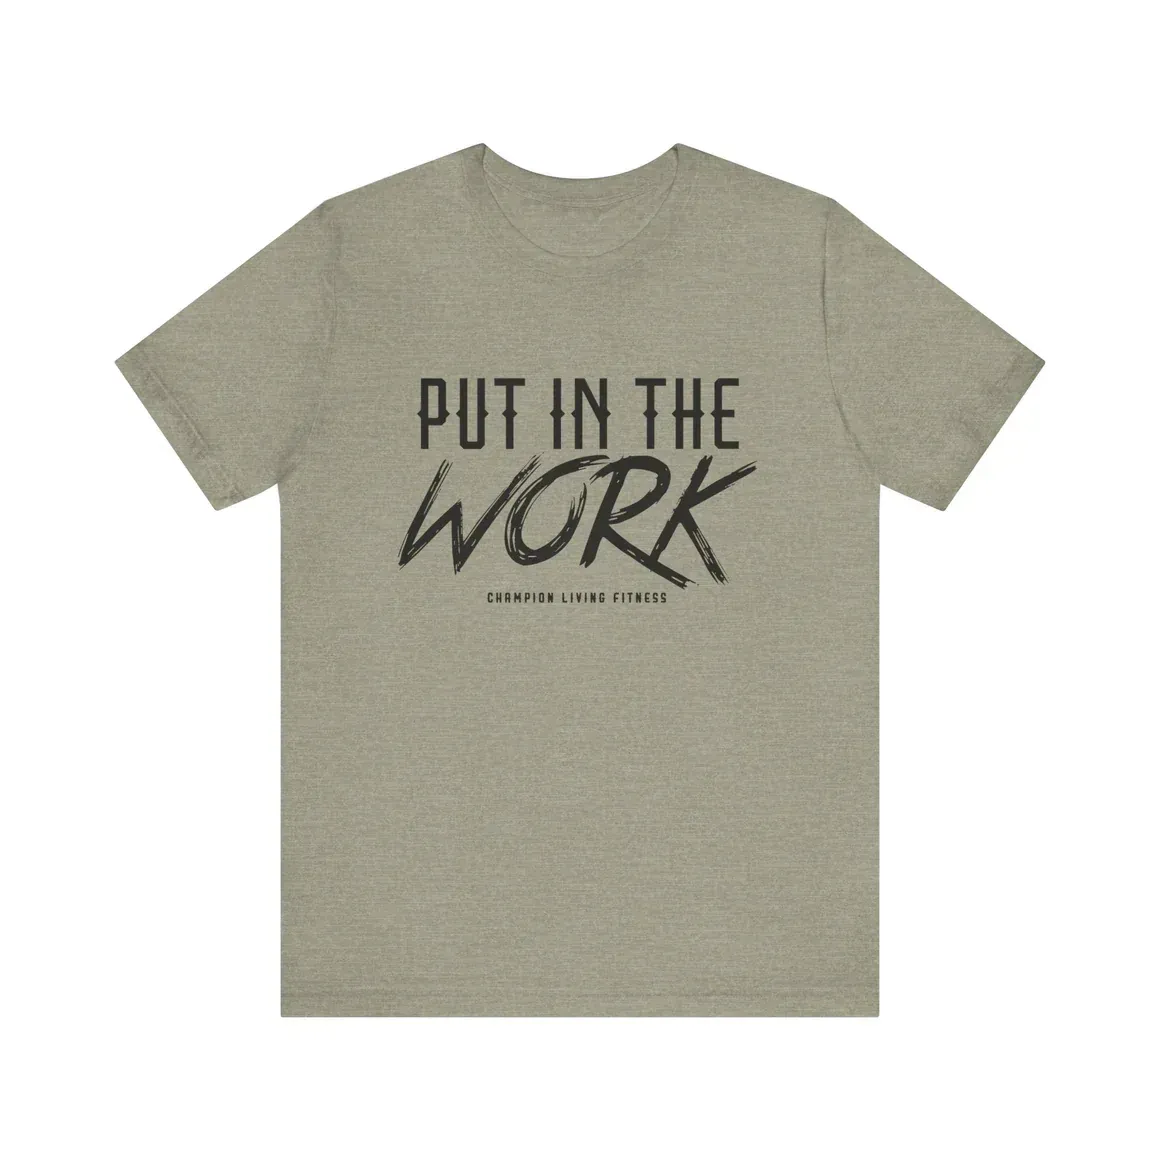
"Put in the WORK" Champion Living Fitness Unisex Jersey Short Sleeve Tee
$22.00
"Achieve Greatness" Champion Living Women's Ideal Racerback Tank
$22.00

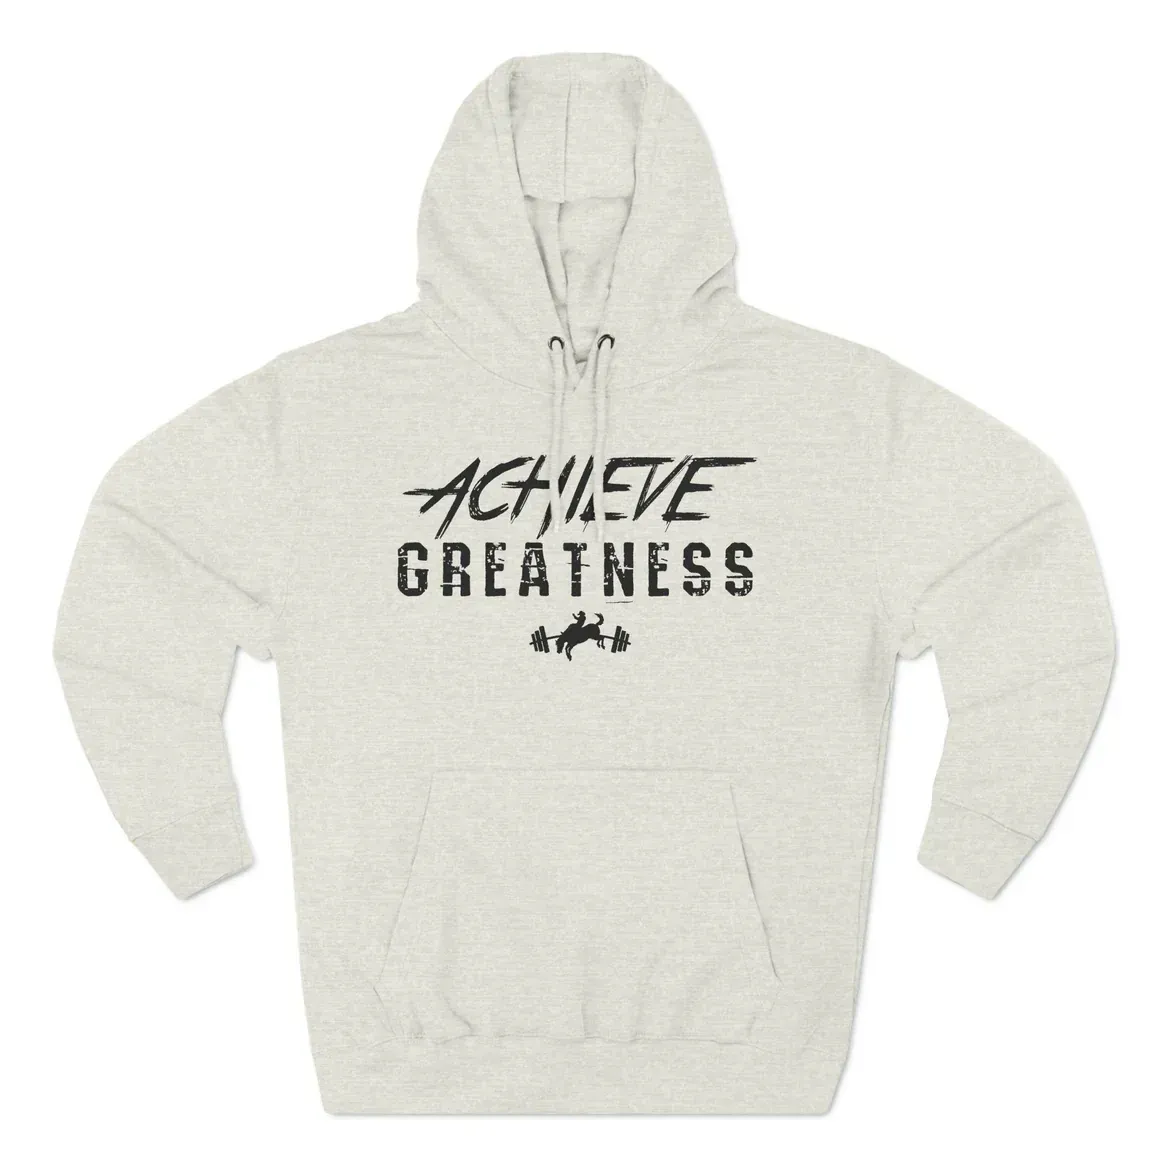


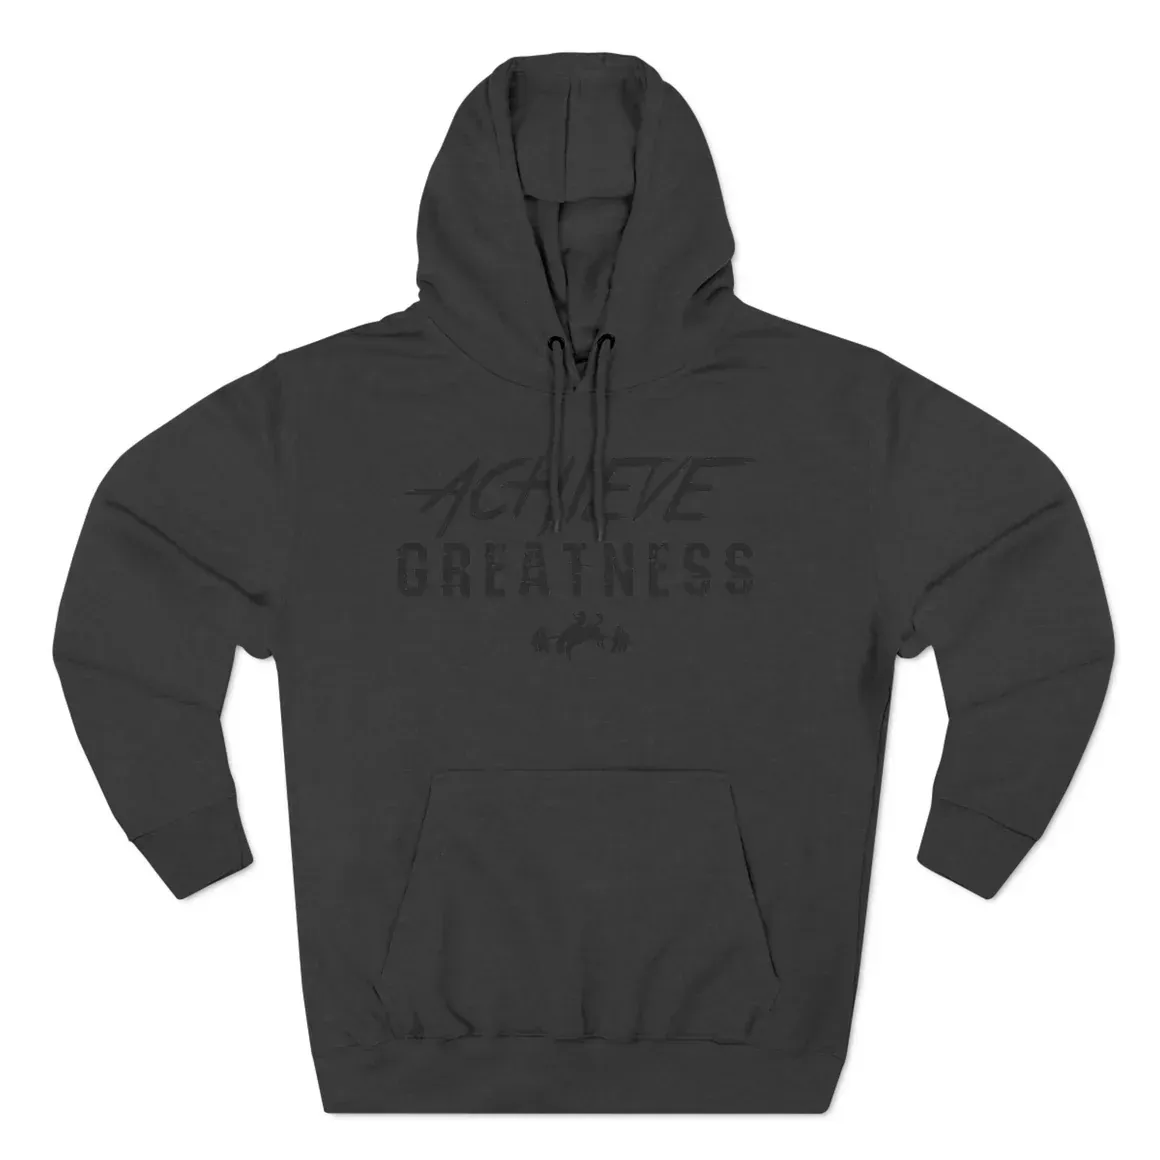
"Achieve Greatness" Champion Living Unisex Premium Pullover Hoodie
$34.00

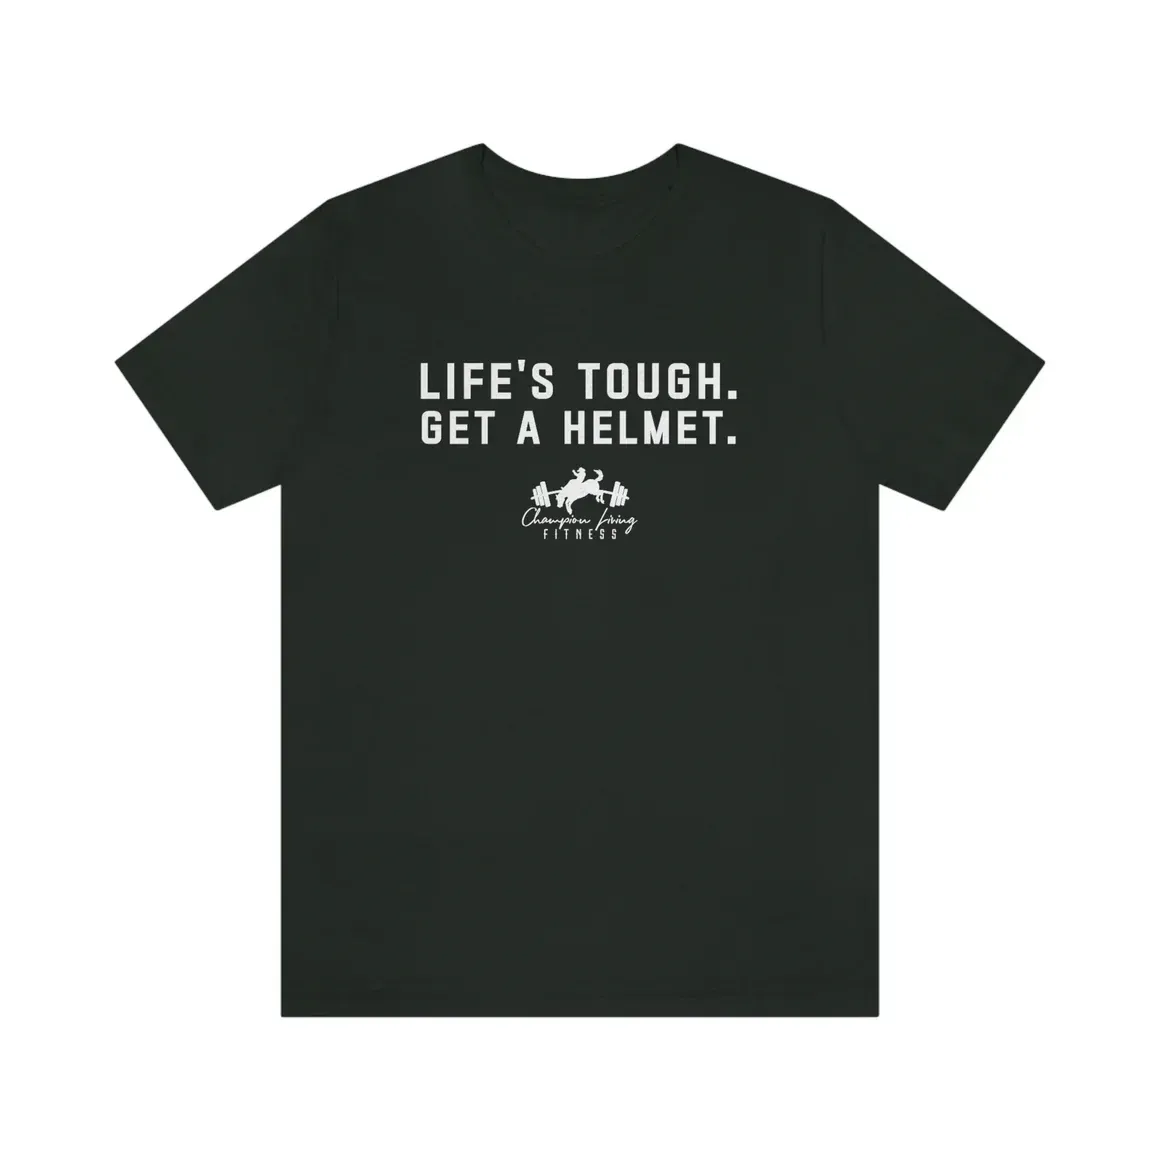
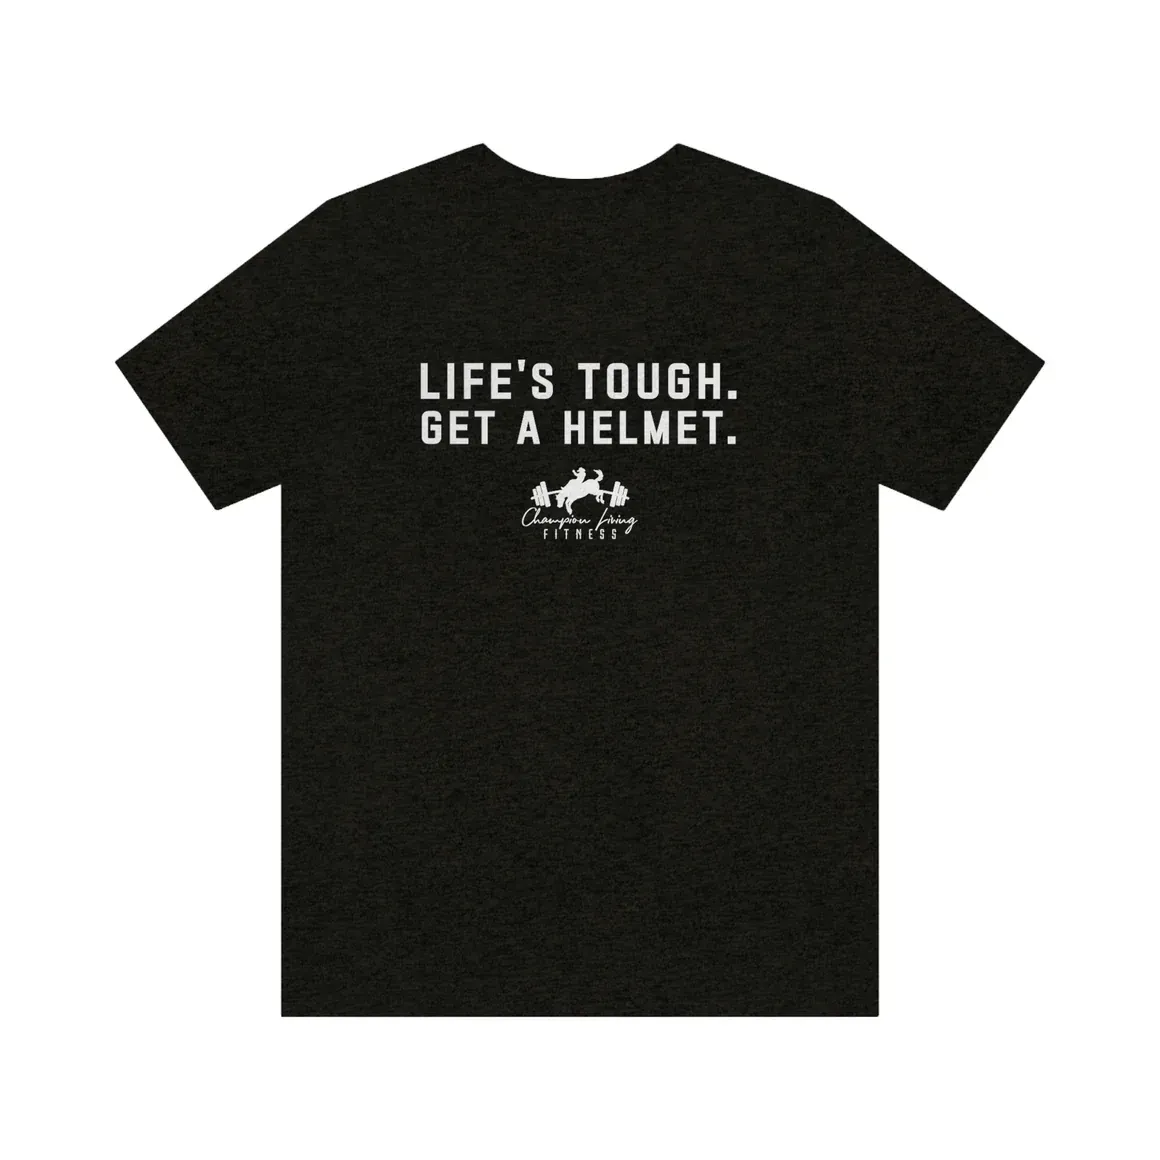
"Life's Tough Get A Helmet" Champion Living Fitness Unisex Jersey Short Sleeve
$22.00
Latest
Blogs

What To Do When Your Training Falls Apart During Rodeo Season
When rodeo season wrecks your routine, here’s how to stay consistent, rebuild momentum, and keep your training from disappearing. ...more
Fitness in Rodeo
July 13, 2026•3 min read

Are Cortisone Shots Bad? The Truth for Rodeo Athletes
Cortisone shots are a tool, not a fix. Learn when to say yes, when to walk away, and why masking pain without fixing the root cause is just donating your entry fees. ...more
Fitness in Rodeo
July 10, 2026•4 min read

5 Steps to Recover Faster Between Rodeos (Easy Guide for the Summer Run)
The Summer Run is the ultimate test of grit — but it doesn't have to wreck you. If you feel stiff, slow, or just plain tired, your recovery habits are the culprit. Here are 5 non-negotiable steps to b... ...more
Fitness in Rodeo
July 06, 2026•3 min read
SIGN UP FOR COACHING
JOIN OUR MAILING LIST
CHECK OUT OUR PODCAST
FOLLOW US ON INSTAGRAM
WEBSITE DESIGNED BY: